Prepare a minimum space of 5 x 5 metres. Ideally, working on a carpet or grass would be best, however any even surface will do.
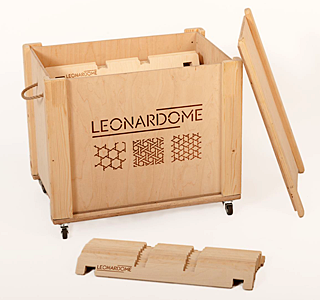
Ingredients for a perfect dome!
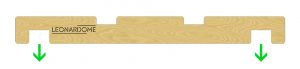
The main rule is to take account of is the correct orientation. Always follow the example below:
To start with, we recommend beginning construction following patterns 1, 2 or 3 (in which all the pieces are placed at right angles). Once the construction of these domes is established, start with the other models. There are all detailed in the educational guide.
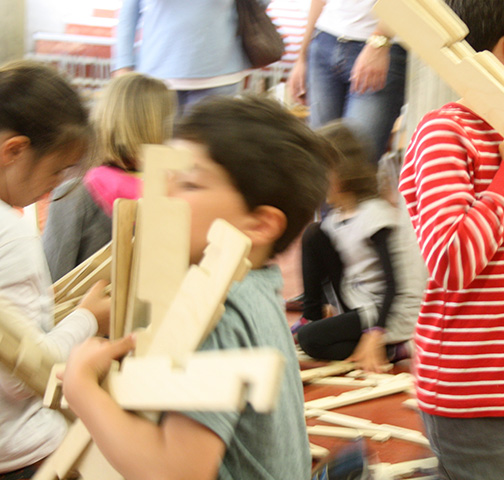
Very easily! Arrange the participants in a circle and put the pieces together simultaneously. Remember that it is team work: if we act in a coordinated manner, the dome will grow evenly; if we don’t, the shape we’ll get will be deformed and fragile.
You can stop the construction whenever it’s appropriate even though you haven’t used all the pieces. Depending on the pattern that we choose, we can use more or less pieces, depending on the flexibility of the structure. Experiment!
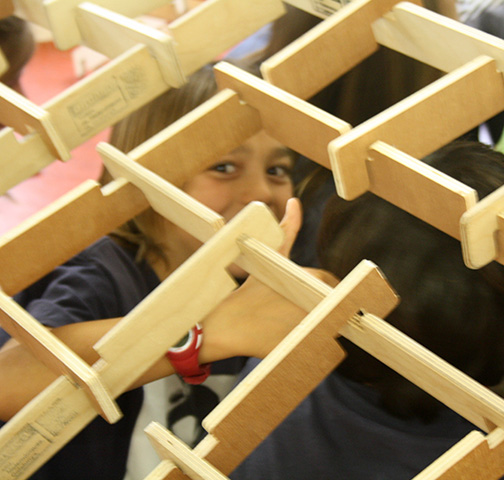
Little by little, the structure becomes less flexible. Especially in domes formed by large hexagons, it soon gets to the point when, in placing a further piece, the neighbouring pieces pop out.
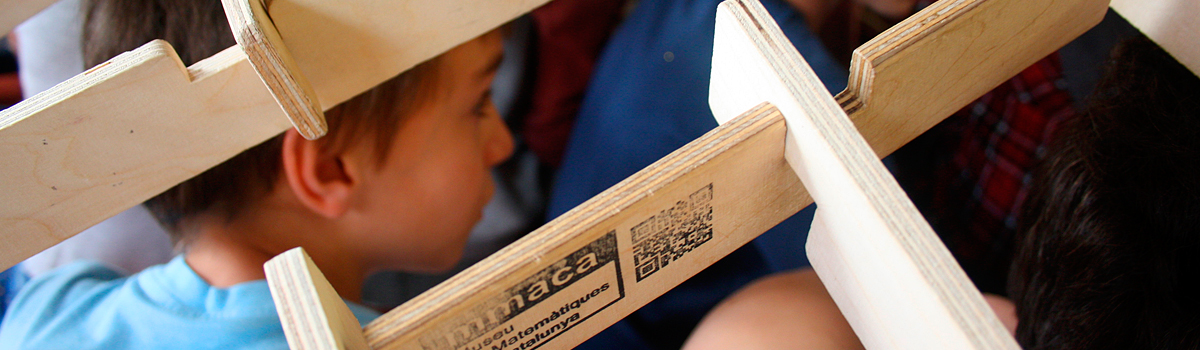
The structure curves because the lower of the four notches are not aligned. Thus, this causes the flat structure to deform. If the upper notches were deeper, the structure would not rise.
We can go inside the dome carefully lifting the four sticks that are touching the ground to create an opening. We can also lift it completely: take hold of all the sticks that are in contact with the ground and, of course, act in a coordinated manner!
You can do it from the inside or from the outside: in removing one piece, the whole surrounding structure falls. Take care not to tread on the pieces as these could break.